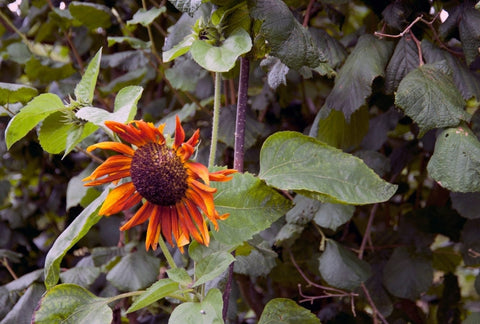
Navigating the challenges of a garden that refuses to sprout can be frustrating. It can feel like you're not just wasting time, but depending on your climate you might be missing out on the growing season altogether.
Yet with the right approach, you can turn those silent seeds into a thriving outdoor oasis. This guide is designed to troubleshoot the common issues that prevent seeds from growing.
We'll provide actionable advice, link to invaluable resources, and suggest must-have products to ensure your gardening efforts bloom into success.
Decoding the Silent Treatment: Why Your Seeds Play Hard to Get
Understanding the nuances of seed germination is akin to mastering a complex dance. Sometimes, seeds remain dormant, not out of spite, but because certain conditions aren't met. Here are areas to consider:
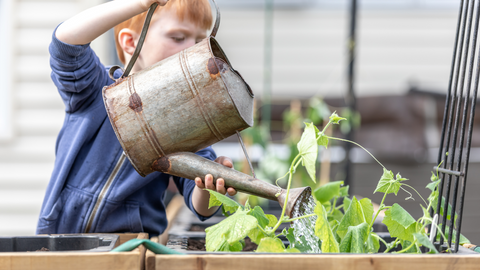
The Art of Hydration: Water Woes
Watering your seeds correctly is crucial. Overwatering can drown your seeds, while under-watering can leave them parched. Aim for a consistent, gentle mist using a spray bottle to ensure the soil is moist but not saturated.
Temperature: It's Not You, It's the Weather
Seeds are picky about their preferred growing conditions. If temperatures stray too far from their comfort zone, they won't germinate. Consider starting your seeds indoors - potentially with the help of a grow light - to provide additional warmth or create a cooler environment, depending on your seeds' needs.
A Breath of Fresh Air: Oxygen's Role
Compacted or waterlogged soil can suffocate seeds, preventing them from absorbing the oxygen needed to grow. Ensure your soil is loose and well-draining to encourage healthy root development.
When Fungi Crash the Party: Damping Off
Damping off, a fungal disease, can devastate seedlings before they fully emerge. Maintaining clean growing conditions and avoiding overly moist soil can help prevent this issue.

It's Not Them, It's You: Problems with the Seed Itself
Expired Relationships: Seeds are Too Old
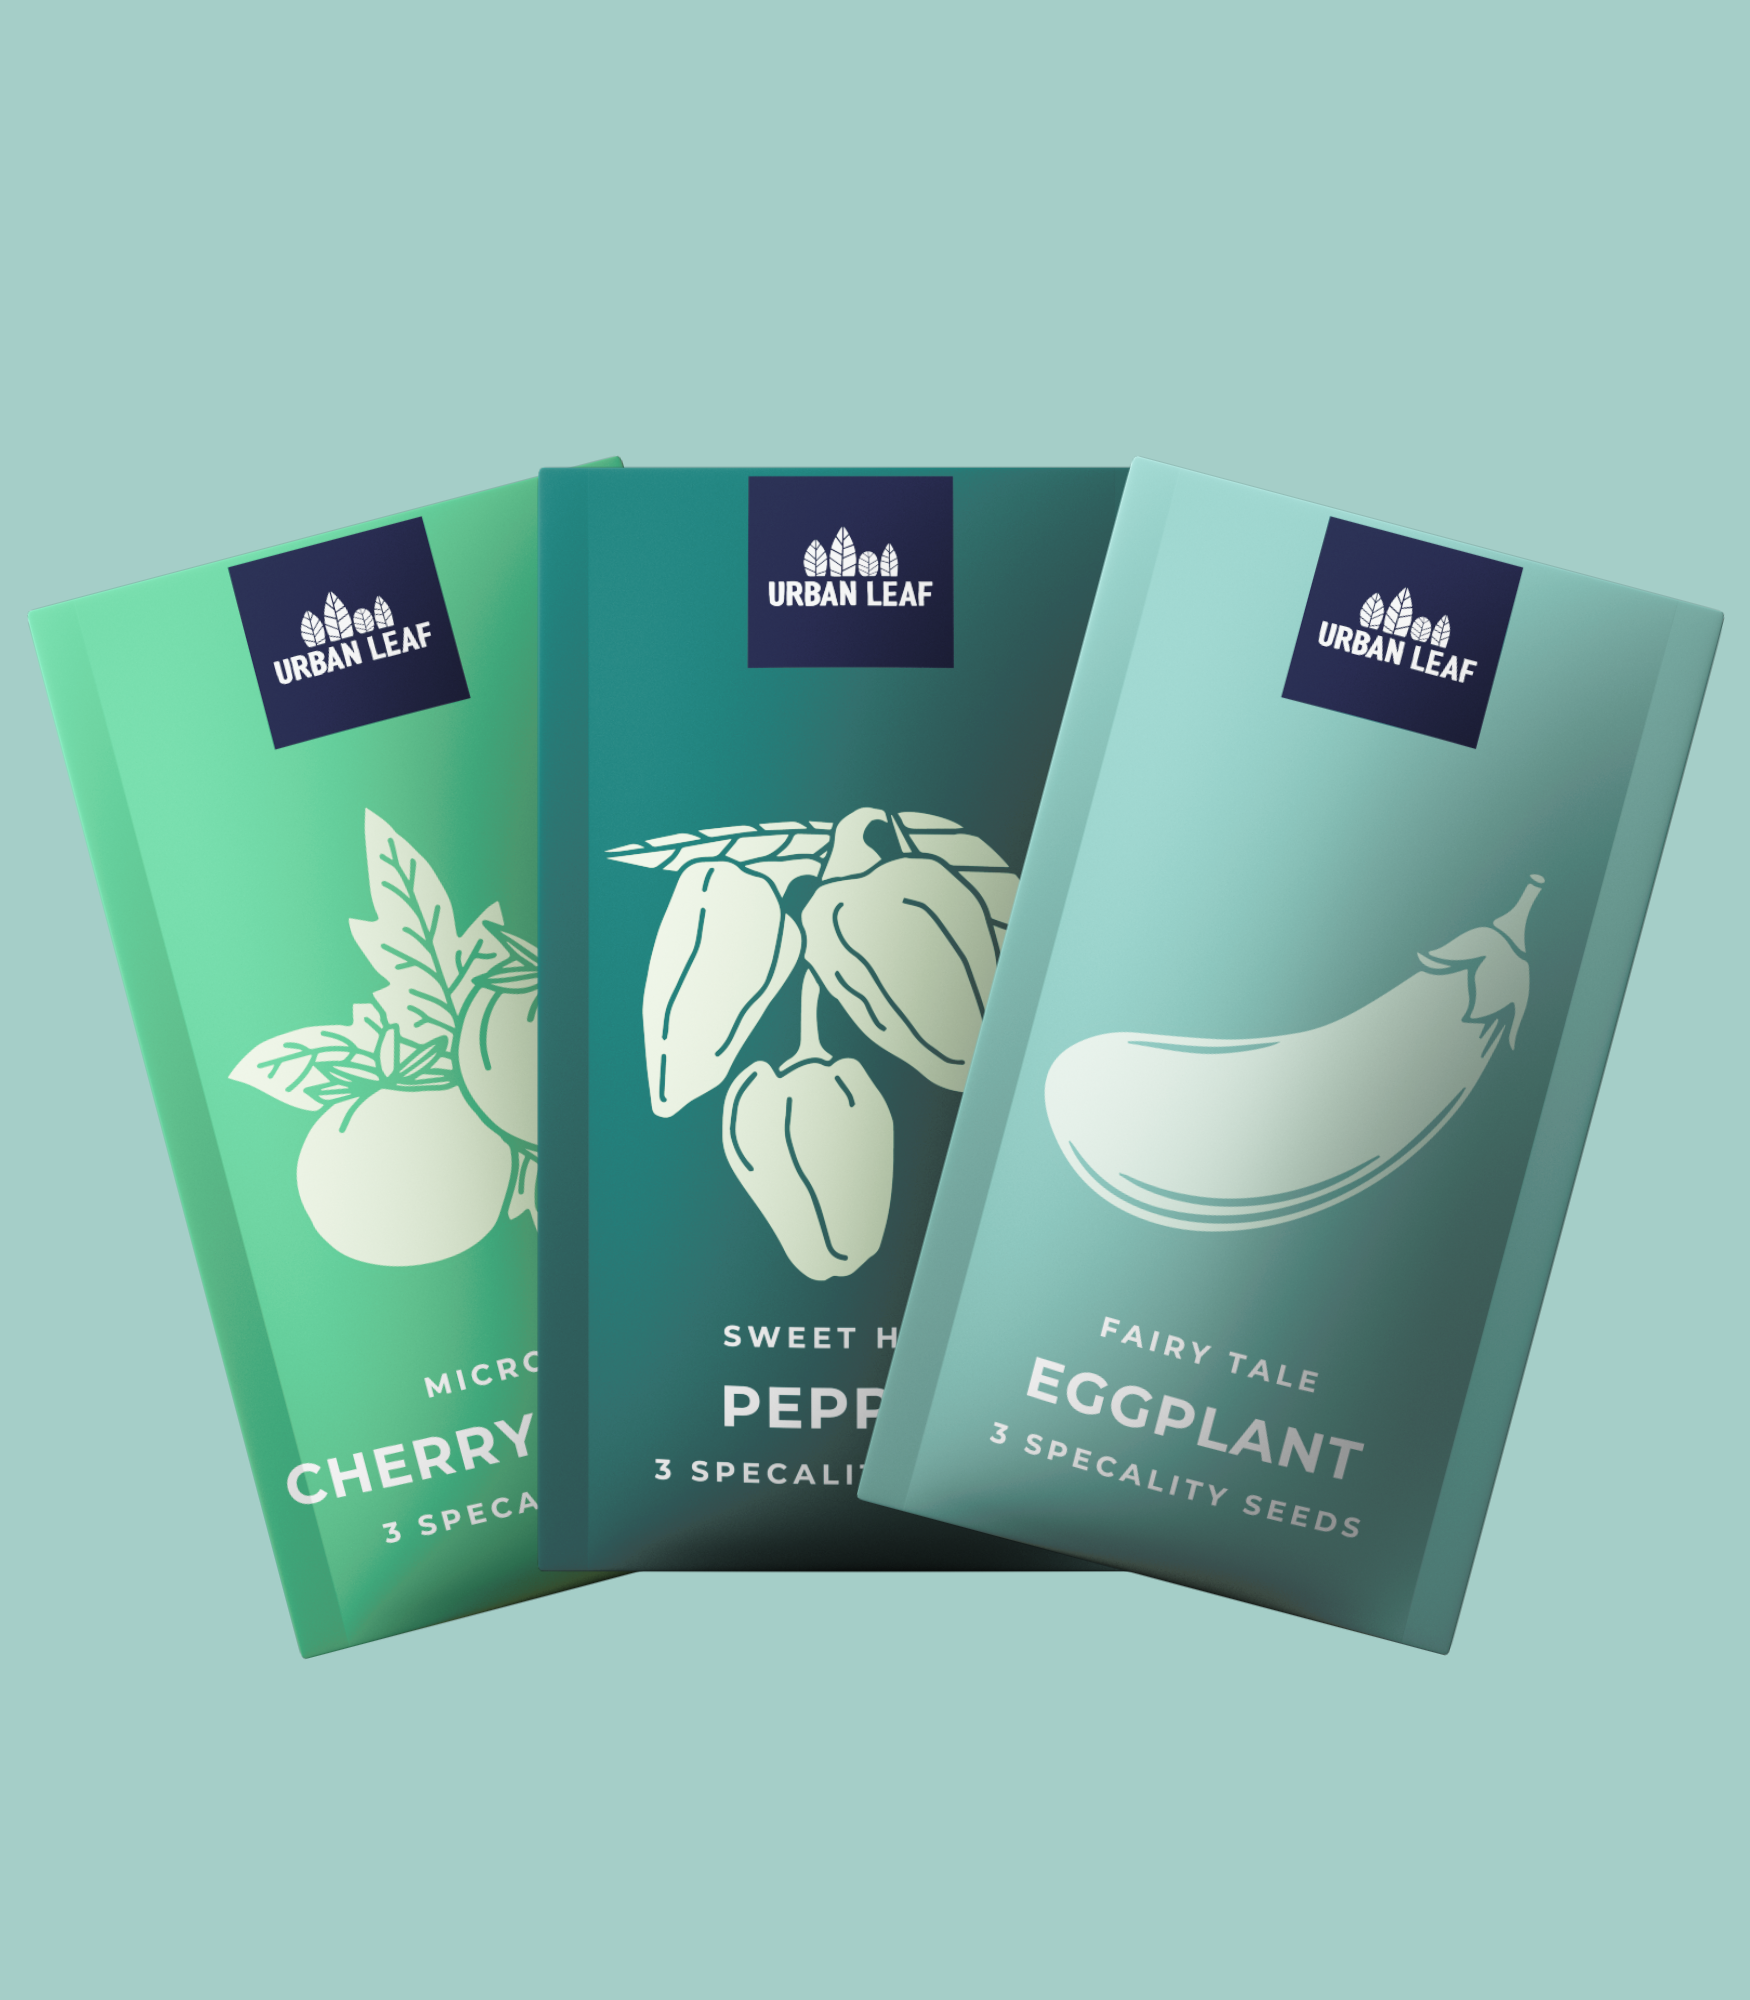
Seeds have a shelf-life, and old seeds may not germinate well. Refresh your garden with new seeds from Urban Leaf's seeds collection, ensuring high germination rates and a vibrant garden.
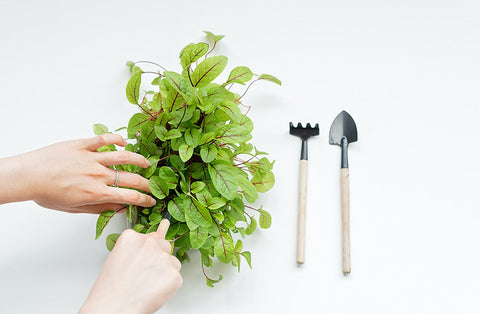
Storage Issues: Keeping the Spark Alive
Proper storage is key to keeping seeds viable. Store your seeds in a cool, dry place to preserve their germination potential. Consider investing in quality storage solutions or refreshing your seed collection annually.
Pests: The Other Suitors
Birds, mice, and insects are attracted to seeds for a quick meal. Protect your seeds by starting them in Sixie seed starting pots, which can safeguard young plants from pests.
Join the Community
Gardening, much like any endeavor, is a journey of discovery and learning. If you encounter challenges or have questions, you're not alone. Join our Private Facebook Group to connect with a supportive community of gardeners. Here, you can share your experiences, seek advice, and find encouragement from fellow urban gardeners.
Remember, successful gardening requires patience, experimentation, and a willingness to learn from each attempt. With the right approach and resources from Urban Leaf, even seeds that initially play hard to get can flourish into a lush, vibrant garden. Happy gardening!

There are no comments for this article. Be the first one to leave a message!