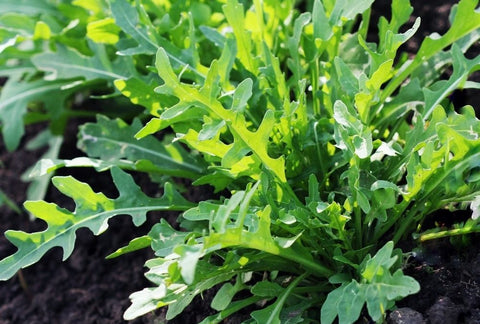
The Romans grew arugula as an edible herb and ate it for good luck. Arugula’s spicy aroma and flavor make it naturally resistant to pests.
Growing Arugula IndoorsThe Romans grew arugula as an edible herb and ate it for good luck. Arugula’s spicy aroma and flavor make it naturally resistant to pests.

Timing
Sprouts in 1-2 weeks. Harvest from Month 2+ on.

Full sun
Equivalent of 5+ hours of direct sun [DLI of 15+ mol/m²/day].

Care
Beginner friendly. You’ll sprout, thin, and harvest.
Growing Arugula Indoors: Best Arugula Varieties to Grow Inside
Arugula has become a popular salad green. Can you grow arugula indoors? Yes, you can! Below are four of the best arugula varieties to grow indoors.
Arugula Growing Indoors: Best Setup for Arugula Plants
If you want to grow arugula indoors, you’ll need:
Planter:
Ceramic Self Watering Planter (preferred) or a pot that is at least 6″ / 1 quart.
Soil:
Standard Potting Mix
Plant Food:
Balanced Blend (equal parts nitrogen, phosphorus, and potassium; NPK 10-10-10).
Grow Light:
A strong grow light that provides the equivalent of 5+ hours of direct sun [DLI of 15+ mol/m²/day].
Jump to: Our product recommendations
Growing Arugula Indoors: Preparing Your Planter & Watering Schedule for Arugula
Arugula indoors does well in moist soil conditions. If the soil dries out completely, the roots will die back. Conversely, if the roots are exposed to standing water for too long, they can rot.
A Ceramic Self Watering Planter filled with standard potting mix self-regulates to keep the soil at consistent moisture for your plant to thrive (and no watering guesswork for you).

To set one up:
- Fill up the planter with dry soil from the bag, gently tamping down the top.
- Dump the soil into a large mixing bowl and add water until the soil is moist, but not sopping wet (about ½ cup).
- Mix in 1 tablespoon of the Balanced Blend Plant Food.
If you are using a regular pot instead, it should be a little bit bigger (at least 6″ / 1 quart) and have drainage holes to prevent over-watering. Let the top of the soil dry out between waterings.
Starting Your Arugula: Seed vs. Propagate vs. Live
New arugula plants can be started from seed (preferred), propagated from an established plant, or purchased live at many garden centers. Starting from seed is quicker, less expensive, offers many options, and ensures no pests are riding along.
How to Plant Arugula Seeds Indoors
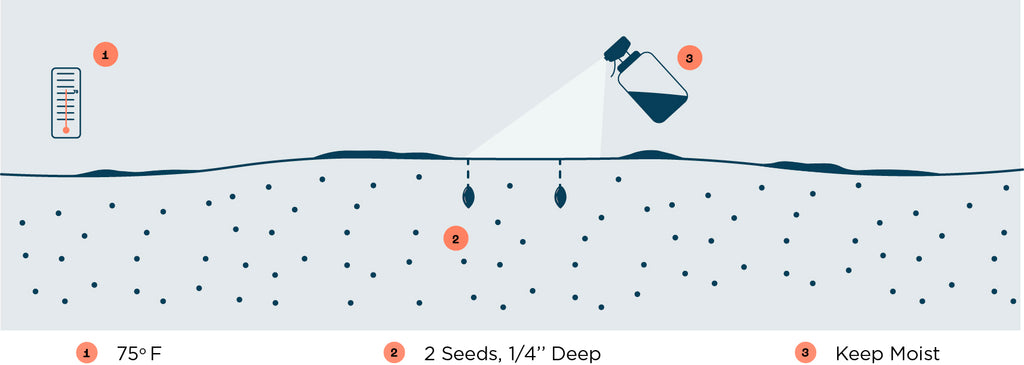
Growing arugula indoors from seed is easy. Plant 2 sites in a 6″ / 1 quart container. In larger containers, space sites 3″ apart. For each site, plant 2 seeds 1/4 inch deep. Keep the soil warm (40-90°F, ideally 60°F). Sprouts typically appear in 7 days but can take 5-10 days depending on your conditions.
How to Transplant Arugula
- Remove some soil from its final planter, leaving enough space for the bottom of the seedling to be just higher than the soil surface.
- Hold the base of the stem with one hand, turn the pot over, and gently pull the seedling. Squeezing the pot can help dislodge it.
- Place in its final container and fill around it with soil so that it’s tight but not compacted.
Where to Grow Your Arugula Plants
Arugula plants need lots of light to grow and develop good flavor. Sunlight is excellent (and free!), but even with a bright window, you might not have enough natural light in the winter. We recommend a grow light for anyone who wants a constant supply of flavorful produce. For an introduction to grow lights, head over to our post on grow lights for indoor gardeners. We’ve also got a buying guide for screw-in types. A good middle-of-the-road option is the 24W Screw-in Bulb by Sansi.
How Bright Should Your Grow Light Be?
Arugula plants need the equivalent of 5+ hours of direct sunlight [DLI of 15+ mol/m²/day] to grow their best. To provide this with a grow light, it needs to be pretty bright! The 24W Sansi bulb should be placed 6 inches away from the top of the plant, giving your PPFD (the standard measure of brightness) of 500 μmol/m²/s.
How Many Hours per Day Do Your Arugula Plants Need Under a Grow Light?
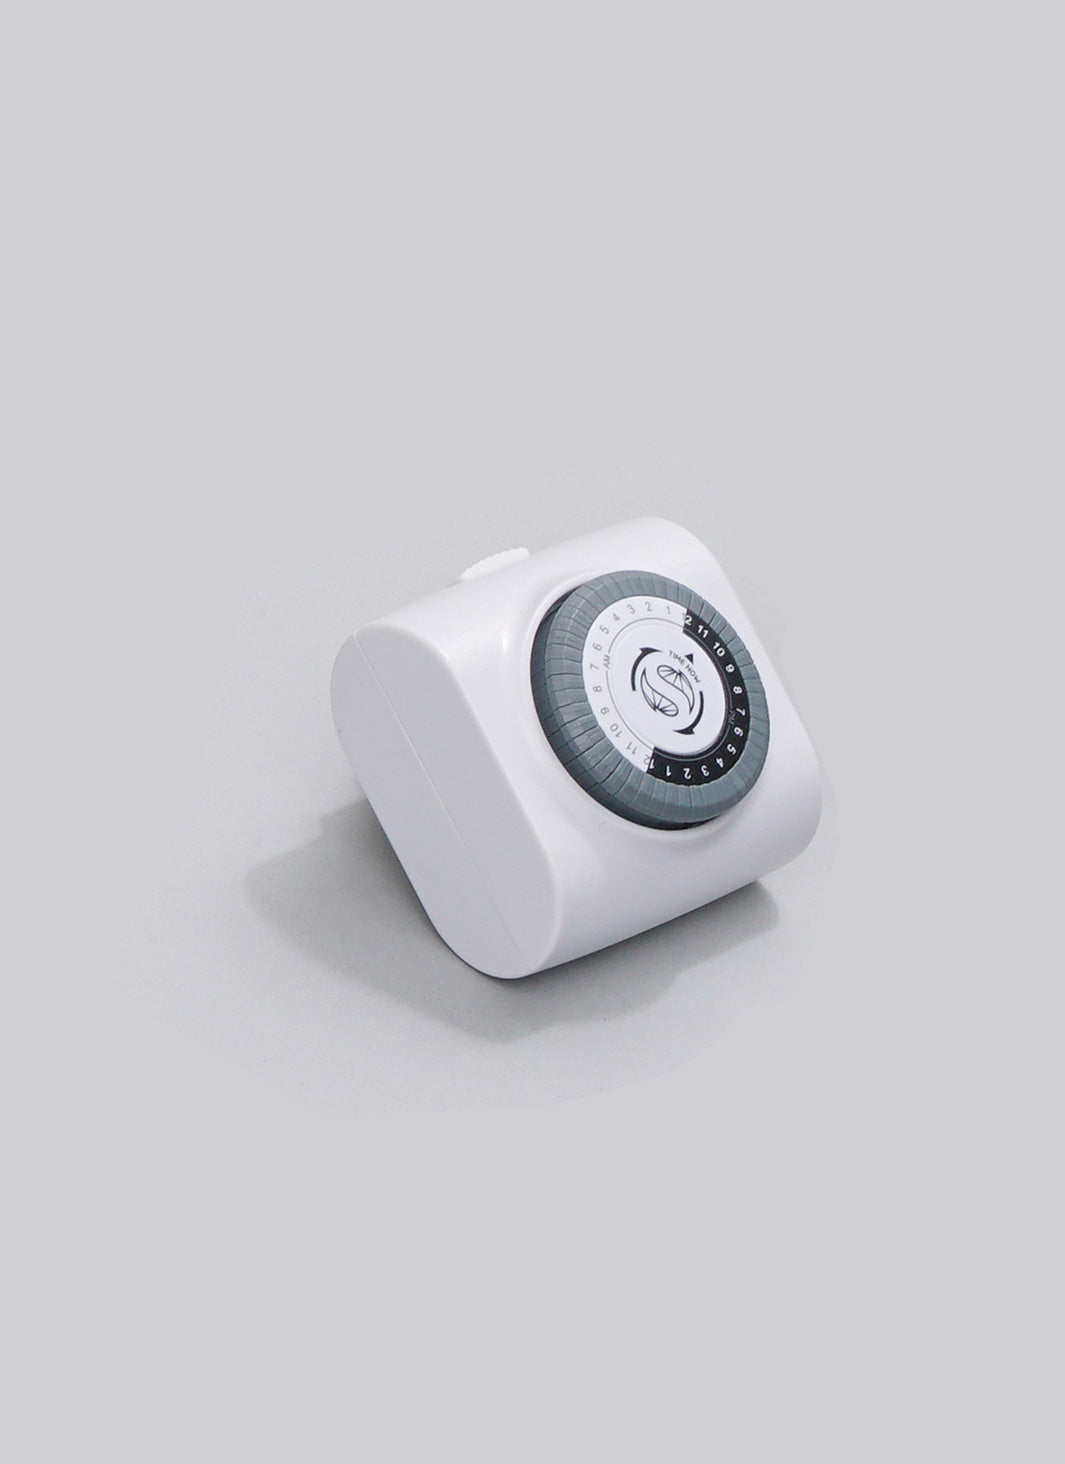
Arugula plants are known as “long-day” plants. When they sense over 12 hours of light per day, they’ll start the end of their lifecycle and work on making seeds. We recommend setting up a timer to leave the light on for only 10 hours per day to keep them in an earlier stage for harvesting the leaves.
Extend Your Harvest by Keeping the Temperatures Cool
Arugula is known as a “cool weather crop.” If it senses warming temperatures, it will “bolt” – send up flowers and become bitter in the process. Where you plant them can affect the temperature – lower positions on a growing rack, ceramic planters, and hydroponics with air bubblers tend to run cooler. It’s best to avoid windows that get really hot (like bay windows).
Week-by-Week Care
Week 1-2: Check for Sprouts
You could see seedlings in as little as 5 days (though 7 days is more typical). If it’s been 10 days and you still don’t have any sprouts, it’s likely that your setup is too cold.
Week 2: Check Your Seedlings
There’s no need to thin arugula, but you should check on your seedlings’ progress to make sure they have enough light. They should be about 1 inch tall by the end of Week 2. If they aren’t, you likely need a bit more light.
Week 5: How to Prune Arugula

You’ll notice how all the stems and leaves of arugula grow from a single, central point (called radial growth). The plant puts out new leaves in the center and pushes old leaves outward, getting bigger and bushier over time. Pruning and harvesting are one and the same with arugula. Once the plant has at least 3 separate stems coming from the base, take one of the outside leaves and cut it close to the base (½” above is fine). It’s good to leave at least 2/3 of the plant to regrow.
Month 2+: How to Harvest Arugula
Just as you did with your first prune, pick the outer leaves as needed, always leaving at least 1/3 of the plant to regenerate.
Month 6+: End of Life
When arugula reaches maturity, it becomes bitter tasting and produces little delicate white blossoms. Harvest and eat these tasty blossoms before taking your plant down and starting over.
Shop This Blog
The right supplies can take the guesswork out of caring for your plants – especially your arugula indoors – and turn care from a daily to a weekly routine. Through our grow tests, we’ve found these products to produce the best indoor arugula (and also have simple maintenance). Plants are adaptable and can grow in many different conditions, so they are by no means necessary if you already have other supplies.
Best Containers for Arugula: Ceramic Self Watering Planters
Plants thrive on consistent moisture but can suffer if they’re waterlogged. A semi-porous ceramic self-regulates ideal conditions. Our favorite is the COSWIP planter. Runner up is the XS Self Watering Planter by Wet Pot.
Best Soil for Arugula: Standard Potting Mix
Arugula likes a rich and moist root zone, so you are best off with a standard potting mix – we like this Potting Mix by Rosy Soil.
Best Nutrients for Arugula: Balanced Blend
Arugula likes nutrients that are equal parts nitrogen, phosphorus, and potassium (with NPK numbers like 10-10-10). For a balanced blend, we recommend Dr. Earth All Purpose.
Best Light for Arugula: DIY or Soltech
There is a very small chance that you have the bright windows needed to grow these without a grow light. If you are looking for a higher-end option, we love the Aspect Light by Soltech. For a more affordable option, a DIY setup using a 24W Screw-in Bulb by Sansi with a Clamp Light and Timer works well too. Check out our complete guide on a DIY setup for less than $40 or our buying guide for screw-in bulbs.


There are no comments for this article. Be the first one to leave a message!