Freshly picked peas are loaded with natural sugars that quickly turn to starch – so if you haven’t had peas off the vine before, you’ve never experienced their absolute deliciousness!

Timing
Sprouts in 1-2 weeks. Harvest from Week 6 on.

Full sun
Equivalent of 6+ hours of direct sun [DLI of 18+ mol/m²/day].

Care
Beginner-friendly. Once it’s producing – you’ll have to harvest it every couple of days.
Best Pea Varieties to Grow Indoors
Peas have been part of our diet for thousands of years, but it’s only recently that breeders developed much tastier varieties than existed even 20 years ago (in fact the classic “snap pea” is only about 40 years old)! Since then, many other snap peas have been developed and are our favorite of the category. They came from cross-breeding snow peas (where you only eat the shell) with Garden Peas, which you shell and eat the peas. We much prefer the others that we can eat the pods whole – the best to grow indoor are:
Petite Snap-Greens
Snap Peas
No need to wait for peas to form – this delicate plant is entirely edible with no spindly tendrils.
Johnny’sSuper Sugar Snap
Snap Peas
If you’ve got more space or a good trellis, this vining type will give you gallons of peas.
AmazonBest Setup for Pea Plants
You’ll need:
Planter:
Ceramic Self Watering Planter (preferred) or pot that is at least 6″ / 1 quart.
Soil:
Standard Potting Mix
Plant Food:
At the start: Herb Blend. This should be high in nitrogen (with NPK numbers like 10-5-5).
Ongoing: Vegetable Blend. This should be high in phosphorus and low in nitrogen (with NPK numbers like 4-10-6).
Grow Light:
A strong grow light that can give the equivalent of 6+ hours of direct sun [DLI of 18+ mol/m²/day].
Jump to: Our product recommendations
Preparing your Planter & Watering Schedule for Peas
Pea plants do well in moist soil conditions. If the soil dries out completely, the roots will die back and it will be tough for the plant to recover. On the other hand, if the roots are exposed to standing water for too long, they can rot.
A Ceramic Self Watering Planter filled with a standard potting mix self-regulates to keep the soil at consistent moisture for your plant to thrive (and no watering guesswork for you).
To set one up:

- Fill up the planter with dry soil from the bag, gently tamping down the top.
- Dump the soil into a large mixing bowl and add water until the soil is moist, but not sopping wet (about ½ Cup).
- Mix in 1 tablespoon of the Herb Blend Plant Food.
If you are using a regular pot instead, it should be a little bit bigger (at least 6″ / 1 quart) and will need drainage holes to prevent it from being over-watered. Let the top of the soil dry out between watering.
Starting your Peas: Seed vs Propagate
Peas are best to start from seed in the area they will grow to their full size (known as “direct sowing”). They don’t handle transplanting well and tend to grow quicker from seed than propagating from a cutting – so we don’t see the point of starting them any way except for from seed.
How to Plant Pea Seeds

Peas grow quickly from seed. Plant 3 sites in a 6″ / 1-quart container. In larger containers, space sites 2″ apart. For each site, plant 2 seeds 1″ deep. Keep the soil warm (40-85°F, ideally 75°F). Sprouts typically appear in 9 days but can be as quick as 7 days or as long as 14 days depending on your conditions.
Where to Grow Your Pea Plants
While you should take advantage of the sun (it’s free and perfect for plants) there are limited circumstances where indoor natural light is enough for pea plants to grow well. A very bright window can cut your grow light needs in half, but if you want to grow lots of peas, you’ll still need one. For an introduction to grow lights, head over to our post on grow lights for indoor gardeners. We’ve also got a buying guide for screw in types, but to keep things simple in this guide, we’ll just provide directions for the 24W Screw in Bulb by Sansi, which we think is a good middle-of-the-road option.

How bright should your grow light be?
Pea plants need the equivalent of 6+ hours of direct sunlight [DLI of 18+ mol/m²/day] to grow their best. In order to provide an equivalent amount with a grow light, it needs to be pretty bright! The 24W Sansi bulb should be placed 6 inches away from the top of the plant. This will give your PPFD (the standard measure of brightness) of 500 μmol/m²/s.
How many hours per day do your pea plants need under a grow light?
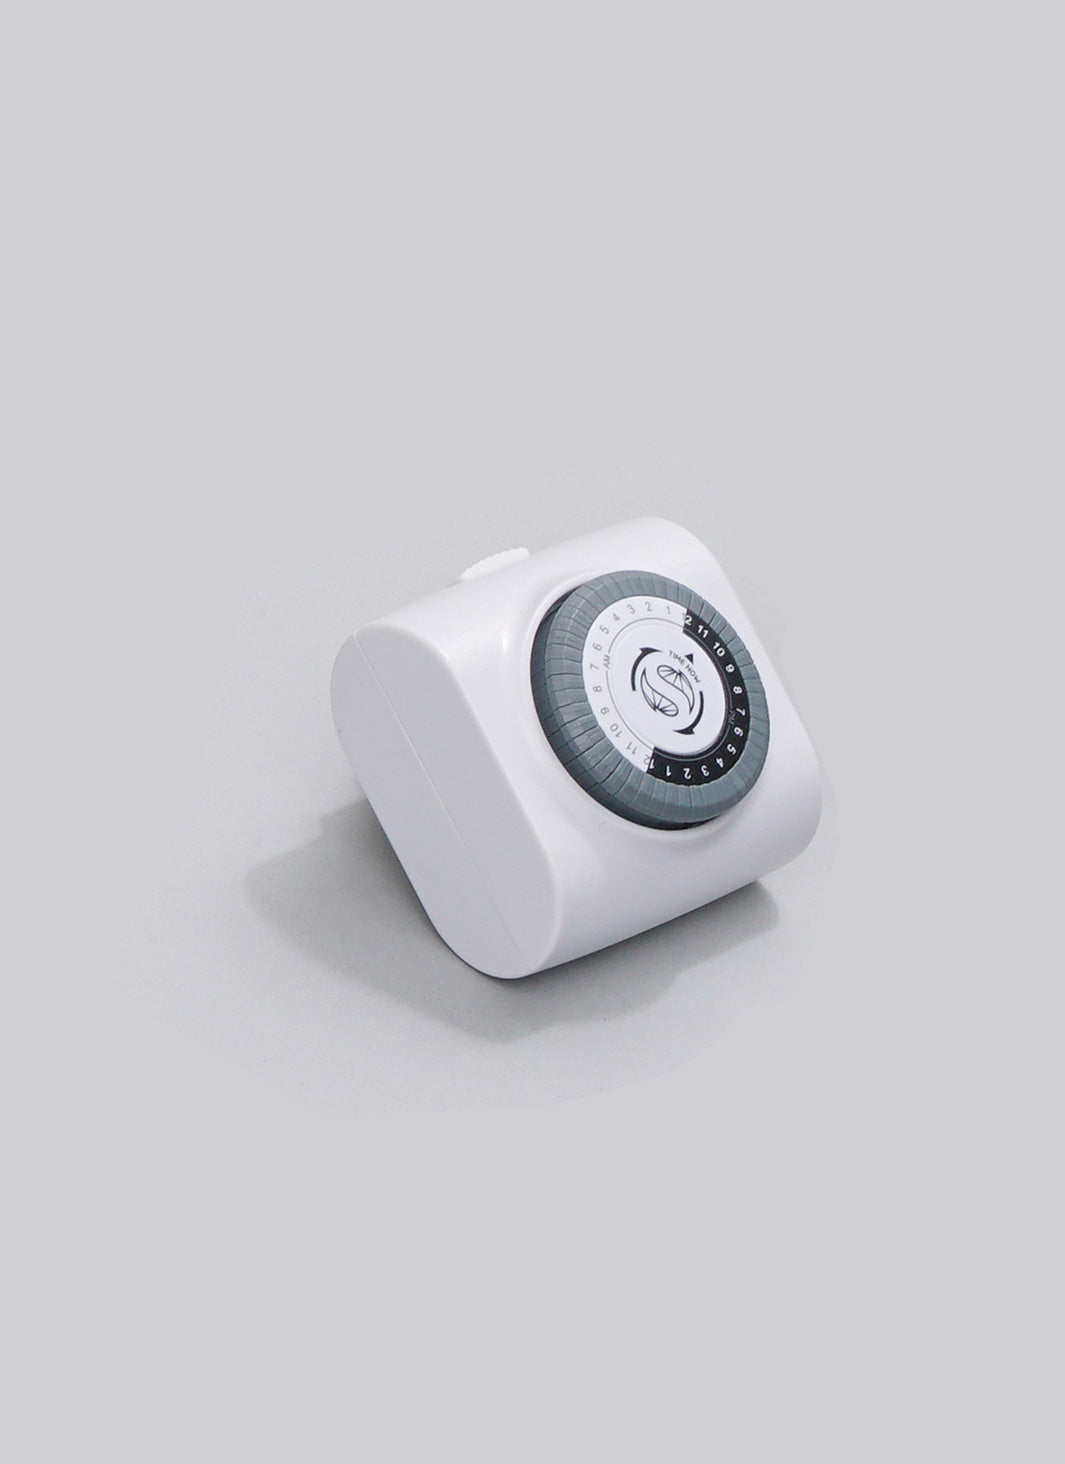
Pea plants are what’s known as “day-neutral” so they can grow under a range of daylight lengths. In order for them to get enough light, we recommend setting up a timer to leave it on for 12+ hours per day.
Extend your harvest by keeping the temperatures cool
Peas are known as “cool weather” vegetables, and will start to slow down (or totally stop) once temperatures rise over 75°F. If they survive the hot weather period, they’ll start producing again once temperatures cool down.
Week 2: Check for Sprouts
You could see seedlings in as little as 7 days (though 9 days is more typical). If it’s been 14 days and you still don’t have any sprouts, it’s likely that your setup is too cold.
Week 3: Check Your Seedlings
There’s no need to thin peas, but you should check on your seedlings’ progress to make sure you’ve got enough light. They should be about 2 inches tall by the end of Week 3. If they aren’t, you likely need a bit more light.
Month 1: How to Prune & Trellis Pea Plants

Pea plants are vines that will continue to grow and grow – so a monthly trim will be a necessary part of your care routine. You’ll make your first cut at about the second month, or when you have 5 branches and a growing tip, cut (or just pinch) off the main stem above the 5th branch. By removing the growing tip, you’re having the plant focus its energy on those 5 branches. There are several support options, ranging from cages to stakes, but we like to train those 5 branches up a fan trellis with plant clips.

After this, pruning and trellising is more of an art (fortunately an art that’s hard to mess up) but the general things you’ll want to look out for are:
- A main stem is going past your grow area. Pinch off the growth tip where you want it to stop.
- A heavy cluster of peas starts to form. The weight can snap the vine, so clip right above the cluster to the trellis to avoid this (mildly heartbreaking) event.
- The plant is getting so dense that light and air can’t get in. Keep up with interior pruning to have a tidy “bonsai” pea plant.
Week 5+: How to Pollinate Your Pea Flowers

Peas are self-fruitful, so there is no need to pollinate the flowers. After the flowers form, it generally takes 3 weeks until they are ready to pick.
Week 6: How to Harvest Peas
The rule for these is to “pick them often and pick them all.” Peas are at the peak sugar stage for a short time, so you need to pick often to catch the small window of the best flavor. When vegetables start to form, it’s helpful to experiment a bit to find out what they are like at peak flavor for you – but generally, they should plump out a little bit on the sides. If you miss a single pea (and they’re good at hiding!) and it grows to maturity, then these plants end their life cycle early. By preventing the plant from finishing that last step of making seeds, you can keep it producing vegetables for much longer.
Month 12+: End of Life
As long as conditions are cool and you don’t miss any harvests, your pea plant can keep producing for over a year.
Shop This Blog
The right supplies can take the guesswork out of caring for your plants – and turn care from a daily to weekly routine. Through our grow tests, we’ve found these products to produce the best indoor peas (and also have simple maintenance). Plants are adaptable and can grow in many different conditions, so they are by no means necessary if you already have other supplies.
Best Containers for Peas: Ceramic Self Watering Planters
Plants thrive on consistent moisture but can suffer if they’re waterlogged. A semi-porous ceramic self-regulates ideal conditions. Our favorite is the COSWIP planter. Runner up is the XS Self Watering Planter by Wet Pot.
Best Soil for Peas: Standard Potting Mix
Peas like a rich and moist root zone – so you are best off with a standard potting mix – we like this Potting Mix by Rosy Soil.
Best Nutrients for Peas: Balanced Blend followed by Vegetable Blend
Peas like to start with nutrients that are high in nitrogen (with NPK numbers like 10-5-5). For this Herb Blend, we recommend: Joyful Dirt All Purpose
Once they are growing, it’s better to use plant food that is high in phosphorus and low in nitrogen (with NPK numbers like 4-10-6). For this Vegetable Blend, we recommend: Joyful Dirt Tomato & Herb.
Best Light for Peas: DIY or Soltech
There is a very small chance that you have the bright windows needed to grow these without a grow light. If you are looking for a higher-end option, we love the Aspect Light by Soltech. For a more affordable option, a DIY setup using a 24W Screw-in Bulb by Sansi with a Clamp Light and Timer works well too. Check out our complete guide on a DIY setup for less than $40 or our buying guide for screw-in bulbs.


There are no comments for this article. Be the first one to leave a message!