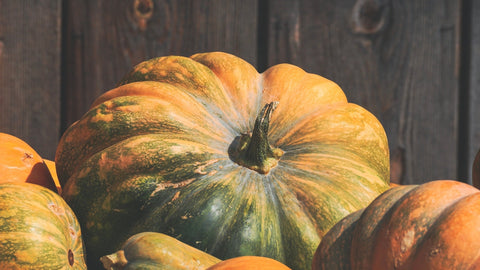
Squash comes from the Native American word “askutasquash.” Virtually, the entire plant is edible, meaning the leaves, tendrils, shoots, stems, flowers, seeds, and fruit can all be eaten.

Timing
Squash sprouts in 1-2 weeks and can be harvested from Month 3+ on.

Full Sun
Growing squash requires at least 7+ hours of direct sun, equivalent to a DLI of 21+ mol/m²/day.

Care
Growing squash is for intermediate gardeners. You’ll need to sprout, thin, prune, and pollinate.
Best Squash Varieties to Grow in Your Garden
There are two types of squash: vine and bush types. We recommend growing only the bush types or semi-vining types. Below are our top 4 favorite squash varieties to grow at home or in your outdoor garden:
Costata Romanesco
Type: Vine
Delicious raw or cooked. Good producer of blossoms for soups, salads, and pasta.
AmazonEarly White Bush
Type: Bush
Has a mild, sweet flavor. Perfect for slicing and sautéing for a delicious treat!
AmazonSunburst
Type: Bush
You can pickle, saute, grill, or even bake it with an egg inside. Super versatile variety.
AmazonBest Setup for Squash Plants
To grow squash, you’ll need:
Planter:
Ceramic Self-Watering Planter (preferred) or a pot that is at least 12″ in diameter / 5 gallons.
Soil:
Plant Food:
Herb Blend high in nitrogen (with NPK numbers like 10-5-5).
Grow Light:
A strong grow light that provides the equivalent of 7+ hours of direct sun (DLI of 21+ mol/m²/day).
Preparing Your Planter & Watering Schedule for Squash
Squash plants do well in moist soil conditions. If the soil dries out completely, the roots will die back, making it tough for the plant to recover. On the other hand, if the roots are exposed to standing water for too long, they can rot.
A Ceramic Self-Watering Planter filled with standard potting mix self-regulates to keep the soil consistently moist for your plant to thrive (and no watering guesswork for you).
To set one up:

- Fill the planter with dry soil from the bag, gently tamping down the top.
- Dump the soil into a large mixing bowl and add water until the soil is moist but not sopping wet (about ½ cup).
- Mix in 1 tablespoon of the Herb Blend Plant Food.
If using a regular pot instead, it should be a little bit bigger (at least 12″ / 5 gallons) and will need drainage holes to prevent overwatering. Let the top of the soil dry out between watering.
Growing Your Squash from Seed vs. Propagating
Squash plants are best started from seed in the area where they will grow to their full size (known as “direct sowing”). They’re not practical to propagate from cuttings and don’t handle transplanting well. Fortunately, starting from seed is simple, and they sprout quickly!
How to Plant Squash Seeds

Squash grows quickly from seed. Plant one site in a 12″ / 5-gallon container. In larger containers, space sites 2″ apart. For each site, plant 2 seeds 1″ deep. Keep the soil warm (70-95°F, ideally 85°F). Sprouts typically appear in 8 days but can be as quick as 6 days or as long as 10 days depending on your conditions.
Why Starting Squash from Cuttings Doesn’t Make Sense
Squash are short-lived plants and prone to root rot. Even under perfect conditions, they lack the genetic makeup to readily produce roots from their stems.
Where to Grow Your Squash Plants
Squash plants have the highest light needs of any plant—so unless you have a totally unobstructed southern-facing window and plan on only growing in the summer, you’ll need a grow light. We still recommend taking advantage of your bright window (sunlight is free and great for plants!) and supplementing it with a grow light.
For an introduction to grow lights, head over to our post on grow lights for indoor gardeners. We’ve also got a buying guide for screw-in types, but to keep things simple in this guide, we’ll just provide directions for the 24W Screw-in Bulb by Sansi, which we think is a good middle-of-the-road option.
How Bright Should Your Grow Light Be?
Squash plants need the equivalent of 7+ hours of direct sunlight (DLI of 21+ mol/m²/day) to grow their best. To provide this with a grow light, it needs to be quite bright! The 24W Sansi bulb should be placed 6 inches away from the top of the plant. This will give your PPFD (the standard measure of brightness) of 500 μmol/m²/s.
How Many Hours Per Day Do Your Squash Plants Need Under a Grow Light?
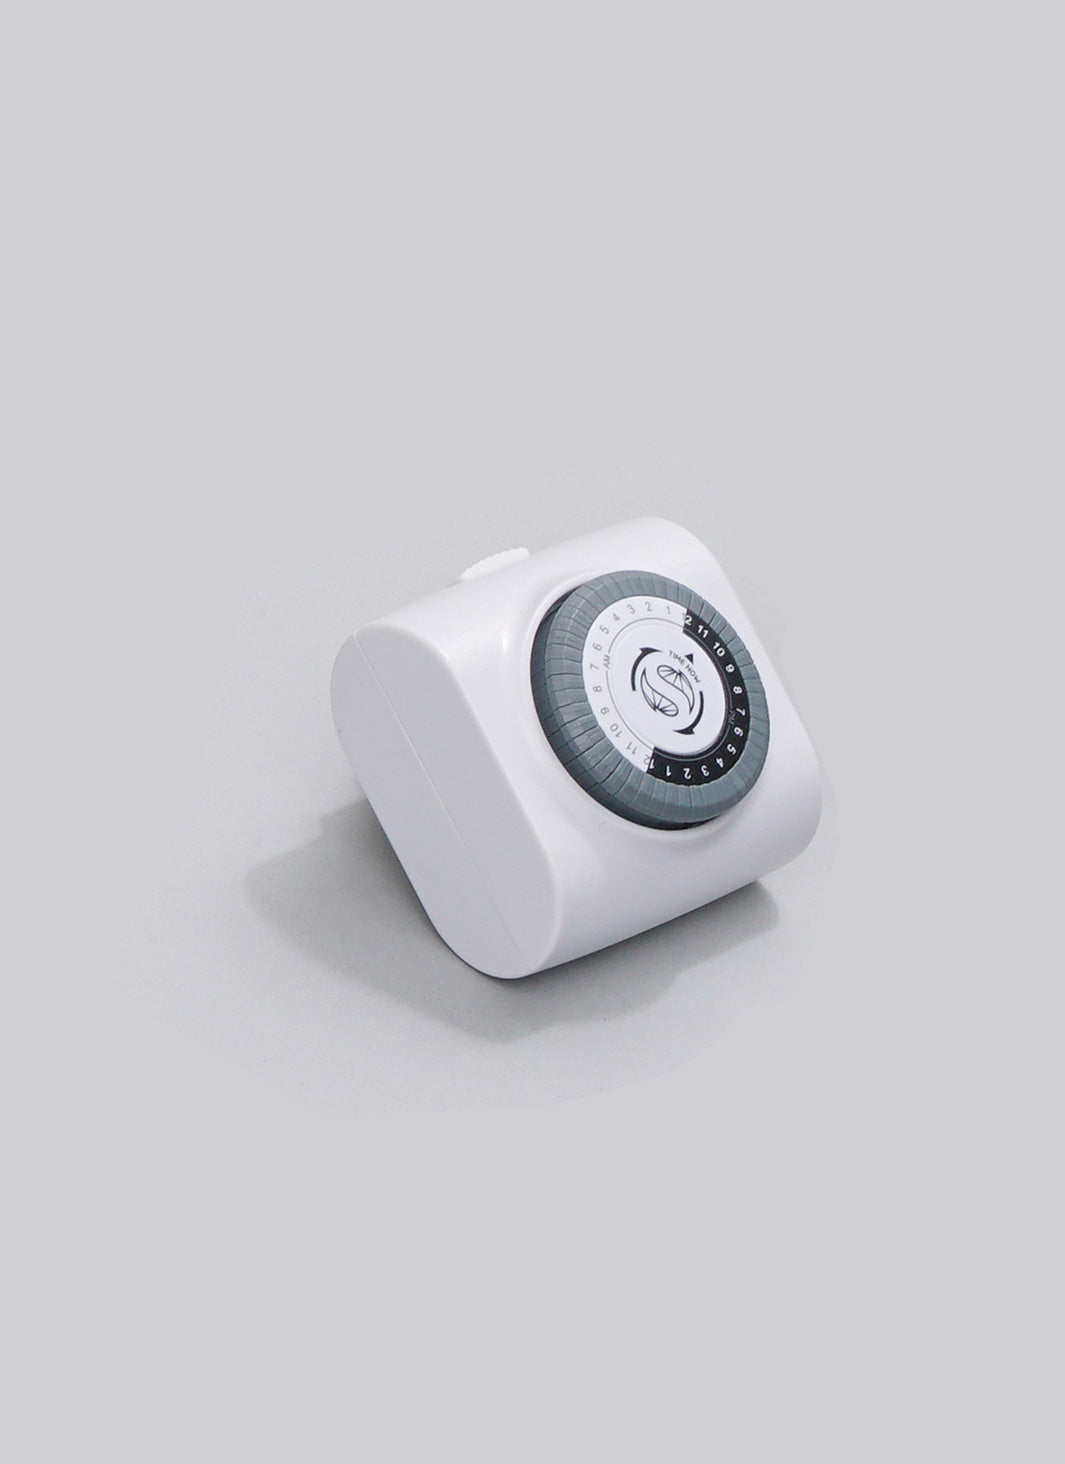
Squash plants are “day-neutral” and can grow under a range of daylight lengths. To ensure they get enough light, we recommend setting up a timer to keep the light on for at least 14+ hours per day.
Squash Plants Grow Faster in Warmer Temperatures
Squash plants are called “warm-weather crops” and prefer temperatures around 70°F. They will grow well in conditions between 60°F and 85°F but can lose their fruit if it drops below 40°F. Conversely, if they get too hot, they will drop their blossoms, wilt, and stop ripening. Most homes maintain a suitable range, and a south-facing sunny window can help provide the extra heat if needed.
Week 1-2: Check for Squash Sprouts
Seedlings could appear in as little as 6 days (though 8 days is more typical). If you haven't seen any sprouts by day 10, it’s likely that your setup is too cold.
Week 3: Thin Your Squash Seedlings

Thin your planter to have only 1 seedling per site—leaving the largest plant. If you are using the recommended planter (at least 12″ / 5 gallons), this means you’ll have 1 plant after thinning. By removing the smaller seedlings, you allow the biggest and strongest one to flourish by reducing its competition for water, food, and space. If your seedlings are under 2 inches, stretching out, or folding over, they likely do not have enough light.
Week 4: How to Prune & Grow Your Squash on a Trellis

Squash plants are vines that will continue to grow and grow—so a monthly trim will be a necessary part of your care routine. You’ll make your first cut around the second month, or when you have 5 branches and a growing tip; cut (or just pinch) off the main stem above the 5th branch. By removing the growing tip, you encourage the plant to focus its energy on those 5 branches. There are several support options, ranging from cages to stakes, but we prefer to train those 5 branches up a fan trellis with plant clips.

After this, pruning and trellising is more of an art (fortunately, an art that’s hard to mess up). Key points to consider:
- Remove small leaves that grow out of the “V” where a branch meets the main stem—these are known as "suckers." Snap them off right at their base.
- If the main stem extends beyond your grow area, pinch off the growth tip where you want it to stop.
- If a heavy cluster of squash starts to form, the weight can snap the vine. Clip just above the cluster to the trellis to prevent this.
- If the plant becomes too dense, light and air circulation may be restricted. Regularly prune the interior to maintain a tidy, “bonsai” squash plant.
Month 1+: How to Pollinate Your Squash Flowers

We recommend using self-pollinating squash varieties, as manual pollination can be cumbersome (requiring a “male” and “female” flower that bloom simultaneously). For self-pollinating varieties, wait until the flowers open, then gently shake them or "rub the nose" of the flower to encourage pollination.
Month 3+: How to Harvest Squash
The rule of thumb is to “pick them often and pick them all.” Squash is at peak crispness for a short time, so frequent harvesting helps you catch the small window of the best flavor. Experiment with harvesting at different stages to find your preferred taste and texture. If a single squash matures fully, it signals the plant to end its lifecycle, so regular harvesting can prolong the plant's productivity.
Month 6+: End of Life
Squash plants can last up to six months but will eventually tire out. If you notice a significant drop in productivity, even with proper care and feeding, it’s time to start over with new seeds.
Shop This Blog
The right supplies can take the guesswork out of caring for your plants and make gardening more enjoyable by reducing maintenance from a daily to a weekly routine. Through our grow tests, we’ve found these products to produce the best squash and require minimal upkeep. While plants are adaptable and can grow in many different conditions, these products are recommended if you’re looking for the best results.
Best Containers for Squash: Ceramic Self-Watering Planters
Plants thrive on consistent moisture but can suffer if they’re waterlogged. A semi-porous ceramic self-regulates to provide ideal conditions. Our favorite is the COSWIP Ceramic Self-Watering Planter. For a more compact option, consider the XS Self Watering Planter by Wet Pot.
Best Soil for Squash: Standard Potting Mix
Squash prefers a rich and moist root zone, so a standard potting mix works best. We recommend this Potting Mix by Rosy Soil.
Best Nutrients for Squash: Balanced Blend Followed by Herb & Lettuce Blend
Squash benefits from nutrients high in nitrogen (NPK like 10-5-5). For a quality herb blend, we recommend Joyful Dirt All Purpose.
Best Light for Squash: DIY or Soltech
There is a very small chance that you have the bright windows needed to grow squash without a grow light. For those looking for a premium option, we recommend the Aspect Light by Soltech. For a more budget-friendly setup, a DIY solution using a 24W Screw-in Bulb by Sansi combined with a Clamp Light and a Mechanical Timer works well. Check out our complete guide on a DIY setup for under $40 or our buying guide for screw-in bulbs.
By using the right combination of containers, soil, nutrients, and lighting, you can successfully grow squash indoors or in small outdoor spaces, bringing fresh, healthy produce right to your table. Happy gardening!

There are no comments for this article. Be the first one to leave a message!