Radishes are one of the quickest and easiest veggies to grow indoors. In the garden, they also help keep the soil loose. In this blog, we’ll be talking about everything related to growing radish indoors, from basic facts, supplies, setup, and steps to grow, care for, and harvest it.
| Plant type | Annual |
| Family | Brassicaceae |
| Binomial name | Raphanus sativus |

Timing
Radish sprouts in 1-2 weeks. They can be harvested from Month 1-2 on.


Ways to Grow Radish | Care and Maintenance for Radish | Timeline & Steps | Cultivars/Varieties
Ways to Grow Radish Indoors
Growing Radish Indoors Using Soil vs Hydroponics vs Microgreens
Grow Radish Indoors Using Soil
Radish plants do well in moist soil conditions. If the soil dries out completely, the roots will die back and it will be tough for the plant to recover. On the other hand, if the roots are exposed to standing water for too long, they can rot.
Grow Radish Indoors Using Hydroponics
Radish is a root vegetable, which means it grows beneath the soil and is therefore not suited for growing in any kind of hydroponic system.
Equipment Needed for Growing Radish Indoors Using Soil
In growing radish indoors, we prefer using a Ceramic Self Watering Planter filled with a standard potting mix that self-regulates to keep the soil at consistent moisture for your plant to thrive (and no watering guesswork for you).
To set one up:

- Fill up the planter with dry soil from the bag, gently tamping down the top.
- Dump the soil into a large mixing bowl and add water until the soil is moist, but not sopping wet (about ½ Cup).
- Mix in 1 tablespoon of the Herb Blend Plant Food.
If you are using a regular pot instead, it should be a little bit bigger (at least 12" / 5 gal) and will need drainage holes to prevent it from being overwatered. Let the top of the soil dry out between watering.
Growing Radish Indoors as Microgreens
Radishes can definitely be grown as microgreens, as a matter of fact, they are included in our own Microgreens Growing Kit. Not only are they fast-growing with a satisfying crunch but they also have anti-inflammatory benefits, that can help detoxify and cleanse the body.
Click here to learn more about the different types of microgreens (such as microgreens with a spicy flavor), or grab a copy of our eBook to learn more about all the different ways you can grow radish (and more!) at home.
Care and Maintenance of Radish Indoors
Lighting for Growing Radish Indoors
While you should take advantage of the sun (it’s free and perfect for plants) there are limited circumstances where indoor natural light is enough for Radish plants to grow well. A very bright window can cut your grow light needs in half, but if you want to grow lots of Radish, you’ll still need one.
For an introduction to grow lights, head over to our post on grow lights for indoor gardeners. We’ve also got a buying guide for screw in types, but to keep things simple in this guide, we’ll just provide directions for the 24W Screw in Bulb by Sansi, which we think is a good middle-of-the-road option.

How bright should your grow light be?
Radish plants need the equivalent of 6+ hours of direct sunlight [DLI of 18+ mol/m²/day] to grow their best. In order to provide an equivalent amount with a grow light, it needs to be pretty bright! The 24W Sansi bulb should be placed 6 inches away from the top of the plant. This will give your PPFD (the standard measure of brightness) of 500 μmol/m²/s.
How many hours per day do your Radish plants need under a grow light?
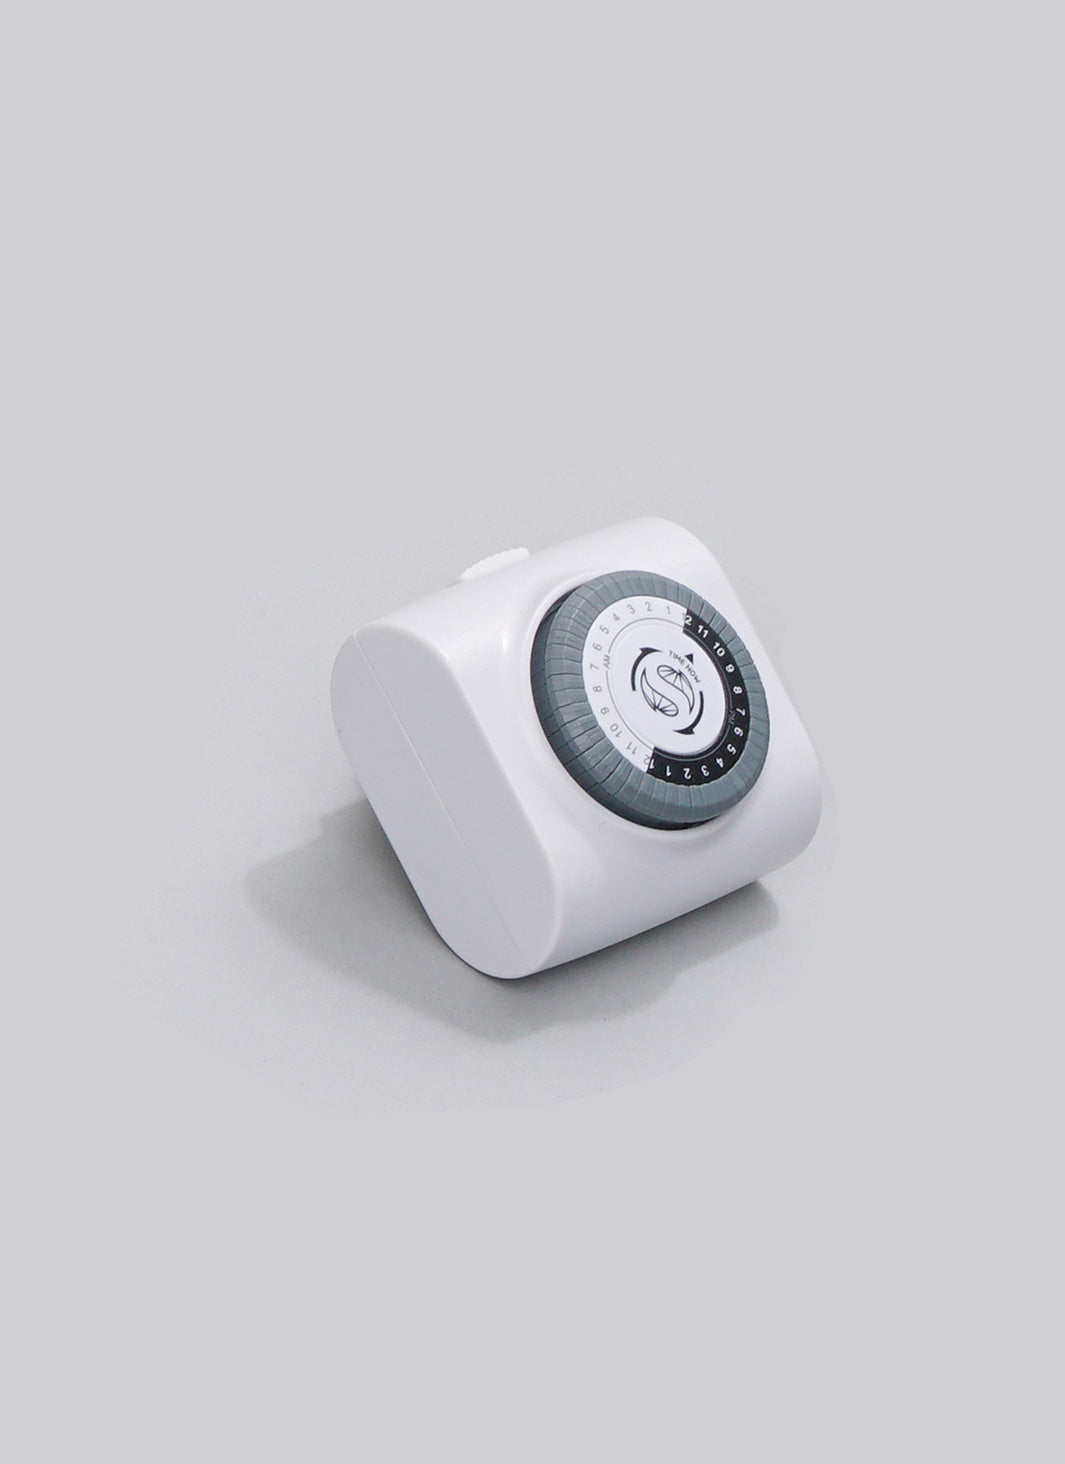
Radish plants are known as “long-day”. When they sense over 12 hours of light per day, they’ll start the end of their lifecycle and work on making seeds. We want to keep them in an earlier stage so we can keep harvesting the leaves, so we recommend setting up a timer to leave it on for only 10 hours per day.
Temperature Needed by Your Indoor Radish
Radishes Like it Cool
Radishes are known as “cool weather” vegetables, and will start to slow down (or totally stop) once temperatures rise over 70°F. If they survive the hot weather period, then they’ll start producing again once temperatures cool down.
Water and Humidity for Your Indoor Radish
Radishes thrive on consistent moisture but can suffer if they’re waterlogged, so make sure to water them regularly, especially if you’re using soil. To avoid your radish being waterlogged, make sure to use a pot with drainage, or just use self-watering pots, as mentioned above.
Nutrients and Fertilizers
Radish like a rich and moist root zone - so you are best off with a standard potting mix - we like this Potting Mix by Rosy Soil.
Best Nutrients for Radish: Herb Blend
Herb Blend. This should be high in nitrogen (with NPK numbers like 10-5-5). For Herb Blend, we recommend: Joyful Dirt All Purpose
Moving Your Radish Plant Outdoors
Radish is a super fast-growing crop so in general, it is best to direct sow. If you are going to transplant, you will need to get the entire (long) taproot and try to disturb it as little as possible.
Timeline and Steps on How to Grow Radish Indoors
Best Setup for Radish Plants
Below is the best setup (and a very easy one!) for growing your radish plants indoors. You’ll need:Planter:
Ceramic Self Watering Planter (preferred) or pot that is at least 12″ / 5 gal.
Soil:
Standard Potting Mix
Plant Food:
Herb Blend. This should be high in nitrogen (with NPK numbers like 10-5-5).
Grow Light:
A strong grow light that can give the equivalent of 6+ hours of direct sun [DLI of 18+ mol/m²/day].
Starting your Radish: Seed vs Propagate
Radish plants are best to start from seed in the area they will grow to their full size (known as “direct sowing”). They’re not practical to propagate from cuttings & they don’t handle transplanting well. Fortunately starting from seed is simple and they sprout quickly!
How to Plant Radish seeds

Radish grows quickly from the seed. Plant 6 sites in a 12" / 5 gal container. In larger containers, space sites 2" apart. For each site press 1 seed into the surface. Keep the soil warm (55-85°F, ideally 70°F). Sprouts typically appear in 4 days but can be as quick as 4 days or as long as 10 days depending on your conditions.
Week 1-2: Check for Sprouts
You could see seedlings in as little as 4 days (though 4 days is more typical). If it’s been 10 days and you still don’t have any sprouts, it’s likely that your setup is too cold.
Week 2: Thin Your Seedlings

Thin your planter to only have 1 seedling per site - leaving the largest plant. If you are using the recommended planter (at least 12" / 5 gals) this will mean you’ve got 6 plants after thinning. By getting rid of the smaller seedlings, you’re allowing the biggest and strongest one to flourish by reducing its competition for water, food, and space. If your seedlings are under 1 inch, stretching out, or folding over, it’s likely that they don't have quite enough light.
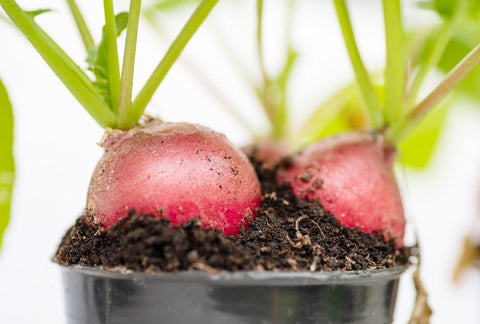
Month 1-2: How to Harvest Radish
Radishes are best to pick before they mature as they get taught and really spicy as they age. The right time to harvest them is when there's a widened dome on the top of the root (but no cracking).
How to Use Your Freshly-harvested Radish in Cooking
Radish is a very delicious and healthy vegetable that can be often eaten/served as:
- Raw and sprinkled with salt/your favorite spices
- Toppings on quality bread
- Slaws
- Salads with your favorite dressing
How to Preserve Radish
There are several ways to preserve or keep your vegetables fresh, and here are just some of the easiest and the ones we recommend the most:
- Pickling. Pickling is the process of converting fresh produce (usually vegetables) into a pickle by use of a solution of vinegar, water, salt, and sometimes sugar, and often some herbs or spices. To know more about pickling and preserving, click here.
- Freezing. Just like herbs, veggies like radish can be preserved by freezing them. This does come with the risk of muting their flavors a bit, though.
- Store in a jar of cold water. This can help lengthen your radishes’ shelf life to more than a week. Just wash them, cut off their greens and root ends, then place them in a tightly-sealed jar of cold water. They can last longer if placed in the fridge. To learn more, take a look into Masterclass’ very helpful article about this.
Month 3: End of Life
Radishes are meant to be eaten early - and once you pick them there's nothing left to grow, so you're best to start over.
If you’d like to learn about the dozens of other herbs, fruits, and vegetables that you can grow indoors then grab a copy of our free eBook below.
Best Radish Varieties to Grow Indoors
Radishes have a big range of spiciness and size. In general, the bigger ones (like daikon and horseradish) are slower growing and less of a natural fit for indoor gardening. We favor small and fast ones - with maturity times 35 days or less. Below are four of our favorite radish varieties to grow inside.
Early French breakfast
Toss in salads or add to tacos, omelets, or tea sandwiches. They can be used whole and roasted, braised, or pickled.
AmazonD’Avignon
May be eaten raw in salads or sautéed in butter with salt, pepper, and herbs as a side dish. They may also be cooked like turnips, used in stir fry, or pickled.
AmazonCherry Belle
Can be steamed or braised and served with hot sauce or vinegar, or can be included in soups and stews.
AmazonEaster Egg
Can be made into salads, soups, stews, and stir-fries. Can also be blended raw or cooked with other vegetables. Can also make an attractive addition to vegetable trays; serve with dressing or dip.
AmazonShop This Blog
The right supplies can take the guesswork out of caring for your plants – and turn care from a daily to weekly routine. Through our grow tests, we’ve found these products to produce the best indoor radish (and also have simple maintenance). Plants are adaptable and can grow in many different conditions, so they are by no means necessary if you already have other supplies.
Best Containers for Radish: Ceramic Self Watering Planters
Plants thrive on consistent moisture but can suffer if they’re waterlogged. A semi-porous ceramic self regulates ideal conditions. Our favorite is the COSWIP planter. Runner up is XS Self Watering Planter by Wet Pot.
Best Soil for Radish: Standard Potting Mix
Radish likes a rich and moist root zone – so you are best off with a standard potting mix – we like this Potting Mix by Rosy Soil.
Best Nutrients for Radish: Herb Blend
Herb Blend. This should be high in nitrogen (with NPK numbers like 10-5-5). For Herb Blend we recommend: Joyful Dirt All Purpose.
Best Light for Radish: DIY or Soltech
There is a very small chance that you have the bright windows needed to grow these without a grow light. If you are looking for a higher-end option – we love the Aspect Light by Soltech. For a more affordable option, a DIY setup using a 24W Screw-in Bulb by Sansi with a Clamp Light and Timer works well too. Check out our complete guide on a DIY setup for less than $40 or our buying guide for screw-in bulbs.
We hope that this blog has given you everything you need to know about growing radish indoors. In case you have any questions, just leave a comment below.

There are no comments for this article. Be the first one to leave a message!